Are you dealing with the“Kernel Security Check Failure” blue screen of death error? Don’t panic! This is a common issue that can often be resolved with some simple troubleshooting. In this blog post, we’ll explain what a kernel security check failure is, how to diagnose the problem, and a few steps you can take to fix it. Read on to learn more and get your computer back up and running in no time.
What is the Kernel Security Check Failure Error?
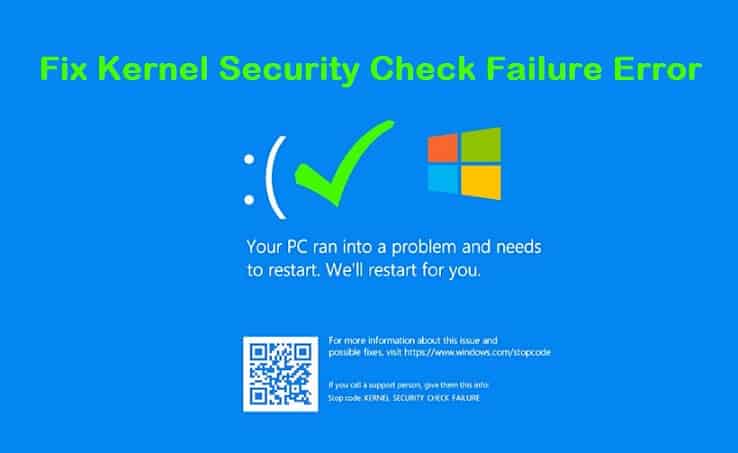
The Kernel Security Check Failure Error is an error that occurs when the Windows kernel detects a problem with a driver, system service, or other critical components of the operating system. The error appears as a blue screen with an error message that reads “Your PC ran into a problem and needed to restart. We’re just collecting some error info, and then we’ll restart for you.”
This issue can prevent your PC from booting up, and it can also cause instability and unexpected system crashes. This can be due to outdated drivers, software conflicts, or hardware issues. Sometimes, it could be caused by malware or viruses on your computer.
If you receive this error, you should fix it as soon as possible, as it can cause instability and data loss if left unresolved. Fortunately, there are several methods you can try to fix the Kernel Security Check Failure Error and get your PC up and running again.
How to Fix the Kernel Security Check Failure Error
Kernel Security Check Failure is a common Windows 10 error that occurs when your PC’s operating system is unable to verify the integrity of the system files. Fortunately, there are several steps you can take to try and fix the issue. These steps should help you fix the Kernel Security Check Failure error and get your PC back up and running again.
- Run a Disk Check
The Kernel Security Check Failure error can often be caused by a faulty hard drive. To diagnose this, you can run a disk check on your computer. To do this, you’ll need to open the Command Prompt, press the Windows + X keys and then select Command Prompt from the list. Once the Command Prompt is open, type “chkdsk /f” and hit enter.
This will scan your drive and repair any errors it finds. If any errors are found, they’ll be displayed on the screen. You can then take the appropriate action to fix them. You should also run a disk check regularly as part of your regular maintenance routine. Doing this can help keep your system running smoothly and prevent any further Kernel Security Check Failures.
2. Perform a Clean Boot
A clean boot is a way to start Windows with only the most basic drivers and programs that are needed to run your computer. This can help to identify if a program or service is causing the kernel security check failure issue. To perform a clean boot in Windows 10, type “msconfig” in the Windows Search box and select System Configuration. Select the Services tab, then select Hide all Microsoft services. Now select Disable all.
Next, select the Startup tab, then select Open Task Manager. In Task Manager, select each startup item one by one and select Disable. Close Task Manager and click OK in System Configuration. Restart your computer and see if the kernel security check failure issue is resolved. If it is, you’ll need to enable the disabled items one by one until you find the one causing the issue.
3. Update Your Drivers
One of the most common causes of kernel security check failure is out-of-date drivers. This is because outdated drivers can cause conflicts with the operating system, resulting in system instability and error messages. To update your drivers, you should first visit the manufacturer’s website to download the latest version of each driver that is installed on your computer.
Once you have downloaded the updated driver, open Device Manager, right-click the device, select “Update Driver Software,” and then follow the on-screen instructions. It is important to note that if you are running Windows 8 or 10, Windows Update will automatically update your drivers.
However, if you are running an older version of Windows, you should use the manufacturer’s website. Furthermore, you should also consider using third-party driver updating software, such as Driver Booster or Driver Reviver, to make sure all your drivers are up to date.
4. Scan for Malware
Malware, or malicious software, can be the cause of many errors and system problems, including Kernel Security Check Failure. If you think malware may be causing this error, it’s important to perform a full system scan to detect and remove any potential threats.
To do this, you’ll need to install an anti-malware program which is often free to download. Once you’ve installed the program, open it and perform a deep scan of your system. This will check all areas of your computer for potential malware threats.
If any threats are found, the program will prompt you to remove them. Make sure you follow the on-screen instructions carefully to complete the removal process. Once that’s done, restart your computer and see if the Kernel Security Check Failure error has been fixed.
If you don’t have access to a quality anti-malware program, you may be able to find one online. Just make sure that you download from a trusted source as some malicious programs masquerade as anti-malware solutions.
5. Perform a System Restore
A system restore is a great way to fix kernel security check failure errors. It’s a simple process that can help you restore your system to an earlier point in time when it was functioning correctly. Here’s how to perform a system restore:
1. Press the Windows key + R on your keyboard to open the Run dialog box.
2. Type rstrui.exe and press Enter.
3. Select Choose a different restore point and click Next.
4. Select a date and time from the list of available restore points and click Next.
5. Check Show more restore points if necessary and click Next again.
6. Click Finish to start the system restore process.
7. Your system will restart automatically once the system restore has finished.
Once the system has restarted, you should no longer encounter the kernel security check failure error. If the issue persists, you can try performing other troubleshooting steps such as running a disk check, updating drivers, and scanning for malware.
6. Perform a Startup Repair
Startup Repair is a built-in Windows tool that can help you repair issues related to the Kernel Security Check Failure error. To perform a Startup Repair:
1. Insert your Windows installation disc into your computer, and then restart your computer.
2. When prompted to boot from the CD or DVD, press any key on the keyboard.
3. On the Install Windows screen, select your language settings and then click Next.
4. On the Install Windows screen, select the Repair your computer link.
5. On the System Recovery Options window, select your Windows installation and then click Next.
6. On the System Recovery Options window, select the Startup Repair option.
7. The Startup Repair process will begin, and once it’s finished, you’ll be able to restart your computer and see if the issue has been fixed.
If you continue to experience the Kernel Security Check Failure error after performing a Startup Repair, then you may need to try additional troubleshooting steps to resolve the issue.