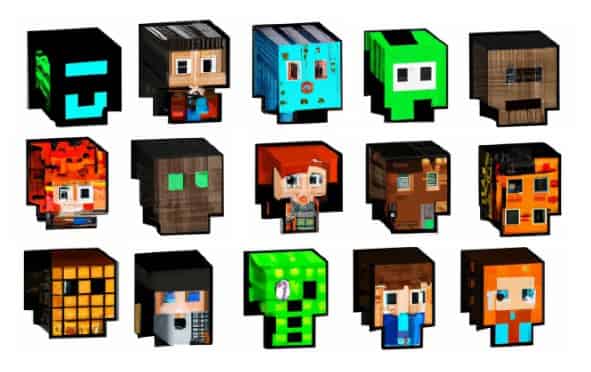
Here we will discuss how to create custom skins in Minecraft. Minecraft is a sandbox video game that allows players to explore a virtual world, build structures, and interact with other players. One of the unique features of Minecraft is the ability to customize your avatar’s appearance using skins. Skins in Minecraft are a way to personalize your character’s look, and they can be a fun way to express your creativity.
Guide to Creating Custom Skins in Minecraft
Step 1: Choose a Skin Editor
Before you start creating your skin, you need to choose a skin editor. There are several online skin editors available that are easy to use, and most of them are free. Some popular skin editors include Skinseed, Nova Skin, and Skindex. Each of these editors has its unique features and capabilities, so you may want to try out a few different ones to find the one that works best for you.
Step 2: Customize Your Skin
Once you have chosen a skin editor, it’s time to start customizing your skin. Minecraft skins are made up of several different elements, including the head, body, arms, and legs. You can use the skin editor to change the color and texture of each of these elements, or you can create your own custom designs.
Some tips for creating great skin include:
- Keep it simple: Minecraft skins are small, so it’s best to avoid intricate designs that can be difficult to see.
- Use contrasting colors: Make sure that the colors you choose contrast well with each other so that your skin is easy to see.
- Be creative: Don’t be afraid to experiment with different designs and textures. The more unique your skin is, the more fun it will be to use.
Step 3: Save Your Skin
Once you have finished creating your skin, you need to save it. Most skin editors will allow you to download your skin as a PNG file. Make sure to save your skin in a location where you can easily find it later.
Step 4: Upload Your Skin to Minecraft
Now that you have created your skin, it’s time to upload it to Minecraft. To do this, you need to log in to your Minecraft account and navigate to the skins section. From here, you can upload your skin by selecting the file you saved earlier.
Step 5: Enjoy Your New Skin!
Once you have uploaded your skin, you can start using it in Minecraft. Your new skin will replace your avatar’s default appearance, and you can show it off to your friends while exploring the virtual world.
Conclusion
Creating custom skins in Minecraft is a fun and easy way to personalize your gaming experience. By following these simple steps, you can create your own unique skin and show off your creativity to other players. So, grab a skin editor, and start designing your perfect Minecraft skin today!