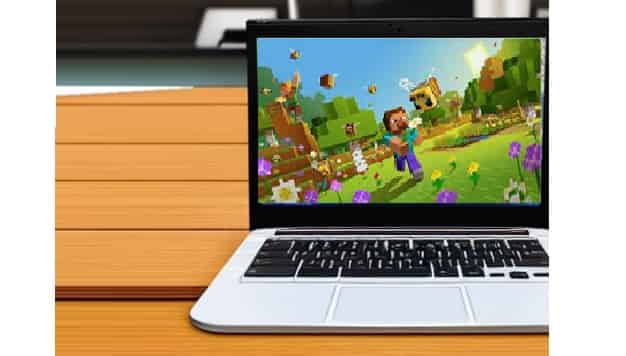
Minecraft is a popular video game that allows players to explore, create, and survive in a blocky world. It is available on multiple platforms, including Windows, Mac, Linux, and mobile devices. While Minecraft is not natively supported on Chromebooks, it is possible to install and play the game on these devices using some workarounds.
In this article, we will discuss the process of installing and playing Minecraft on a Chromebook, the system requirements, and some important considerations to keep in mind.
System Requirements
Before we begin, it is important to check whether your Chromebook meets the system requirements for Minecraft. According to the official Minecraft website, the minimum requirements for playing Minecraft on a PC are:
- Operating System: ChromeOS 111
- System Architecture: 64-bit (x86_64, arm64-v8a)
- Processor: Intel Celeron N4500, Intel i3-7130U, Mediatek MT8183, Qualcomm SC7180 or better
- Memory: 4 GB RAM
- Storage: Minimum of 1 GB game installation, maps, and other files
Note: These minimum specs may change over time. If your device can’t access the game during our early access period, keep an eye out for future updates.
Chromebooks typically have less powerful hardware than traditional laptops or desktops, so it is possible that some models may not meet these requirements. However, if your Chromebook has a recent processor and enough RAM, you should be able to play Minecraft without any issues.
Installing Minecraft on a Chromebook
There are several ways to install Minecraft on a Chromebook, but the easiest method is to use the Linux container feature that is built into Chrome OS. This feature allows you to run Linux applications on your Chromebook, including Minecraft.
Here are the steps to install Minecraft on a Chromebook:
Step 1: Enable Linux support on your Chromebook
To enable Linux support on your Chromebook, follow these steps:
- Click on the system tray in the bottom-right corner of the screen.
- Click on the gear icon to open the Settings app.
- Scroll down to the “Linux (Beta)” section.
- Click on the “Turn on” button to enable Linux support.
This will download and install the necessary components to run Linux on your Chromebook.
Step 2: Install Minecraft
Once you have enabled Linux support, you can install Minecraft by following these steps:
- Open the Terminal app on your Chromebook by pressing Ctrl + Alt + T.
- Type the following command and press Enter to update your system:
sudo apt update && sudo apt upgrade
- Type the following command and press Enter to install the OpenJDK 8 runtime environment:
sudo apt install openjdk-8-jre-headless
- Type the following command and press Enter to download the Minecraft installer:
wget https://launcher.mojang.com/download/Minecraft.deb
- Type the following command and press Enter to install Minecraft:
sudo dpkg -i Minecraft.deb
This will install Minecraft on your Chromebook.
Playing Minecraft on a Chromebook
Once you have installed Minecraft on your Chromebook, you can launch the game by following these steps:
- Click on the “Launcher” app in your app drawer.
- Click on “Minecraft” to launch the game.
You may need to wait for a few minutes while Minecraft downloads some files and updates itself to the latest version.
Important Considerations
There are a few important things to keep in mind when playing Minecraft on a Chromebook:
- Performance: Chromebooks are not designed for gaming, so you may experience lower performance and frame rates compared to playing Minecraft on a dedicated gaming PC. This may be especially noticeable if you have a lower configuration.
- Storage: Minecraft can take up a lot of storage space, so make sure your Chromebook has enough space available before installing the game. You can check your available storage by clicking on the system tray and then clicking on the gear icon to open the Settings app. From there, click on “Device” and then “Storage.”
- Controls: Minecraft is typically played with a mouse and keyboard, but many Chromebooks have touchscreens or stylus support. You may need to experiment to find the control scheme that works best for you.
- Updates: Minecraft frequently releases updates that add new features and fix bugs. Make sure to keep your game up to date by checking for updates in the Launcher app.
- Compatibility: Some mods or resource packs may not be compatible with the Linux version of Minecraft. Make sure to check the compatibility of any mods or resource packs before installing them.
- Internet connection: Minecraft requires an internet connection to download updates and play online. Make sure your Chromebook is connected to the internet before launching the game.
By keeping these considerations in mind, you can have a smoother and more enjoyable Minecraft experience on your Chromebook.
